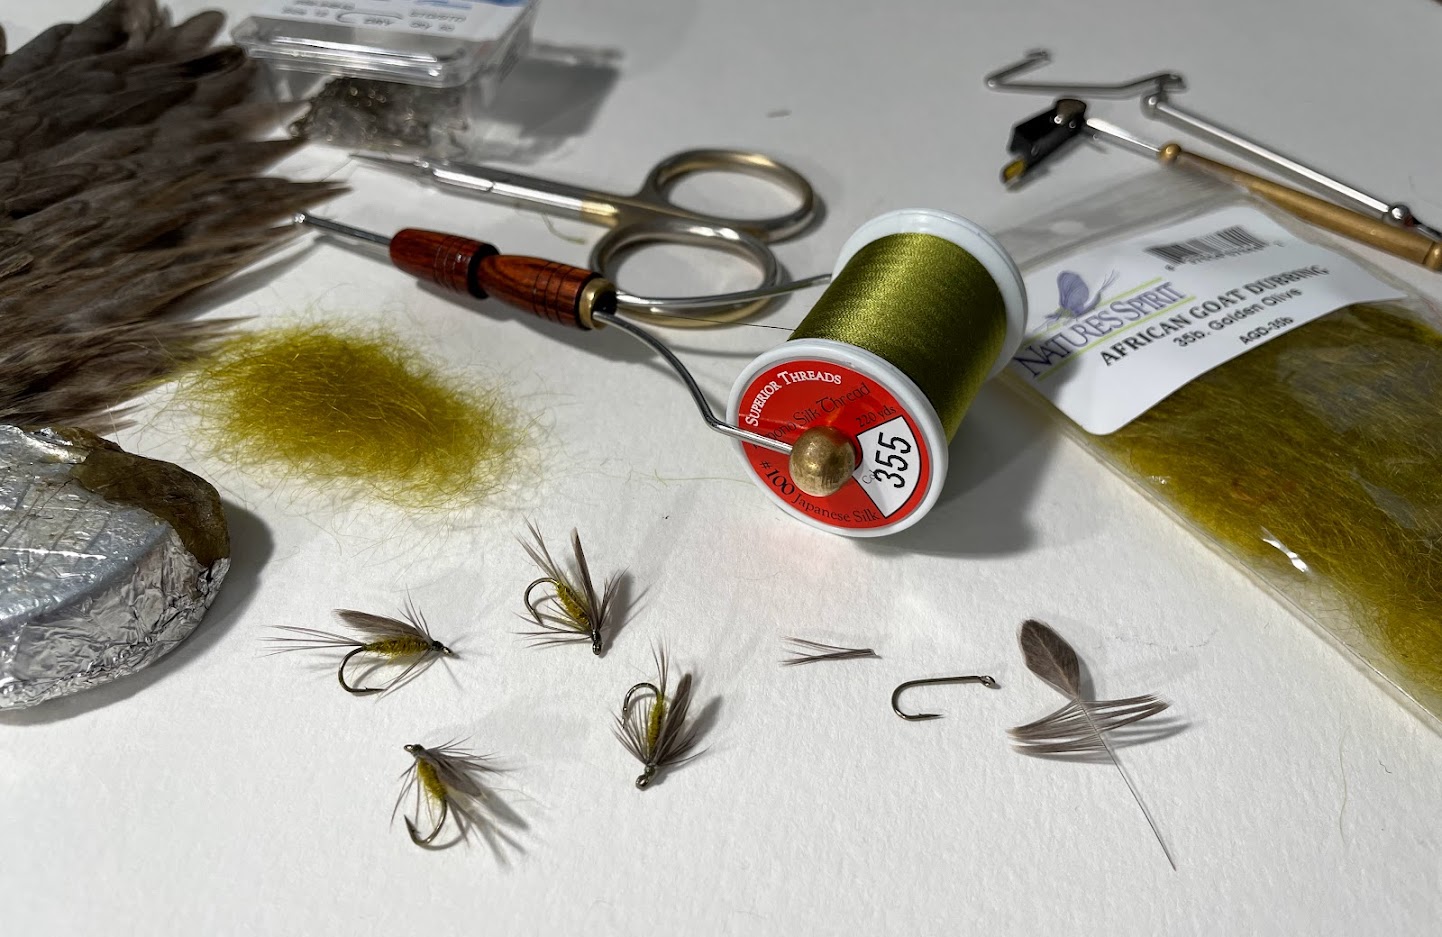
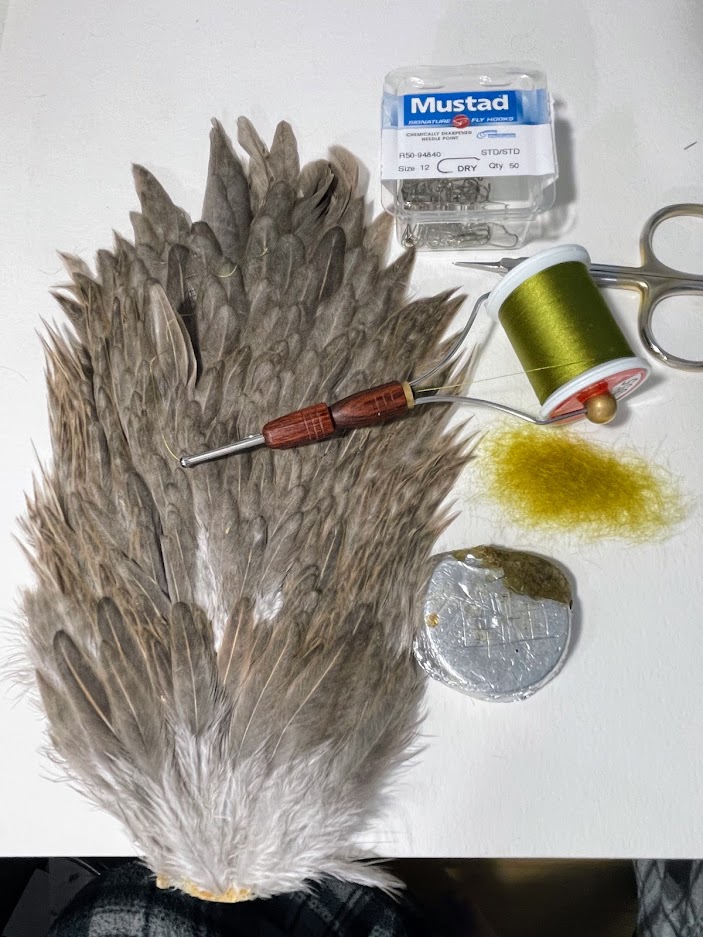
Bill - I am using a Wasatch Mitch's Bobbin. The arms on the bobbin are long enough to hold the larger Kimono spools without any need for modification. The Kimono silk is working very nicely. No breakage issues, even though it is a finer diameter than Pearsall's silk. Definitely makes a smaller head on the finished fly.
PASSING ALONG A SMALL TYING TIP
After tying several dozen of these flies, I've found a way to more consistently get the wing to set properly over the back of the fly. I noticed that the rotary hackle plies I use has a yellow pad on one side (see pictures below)
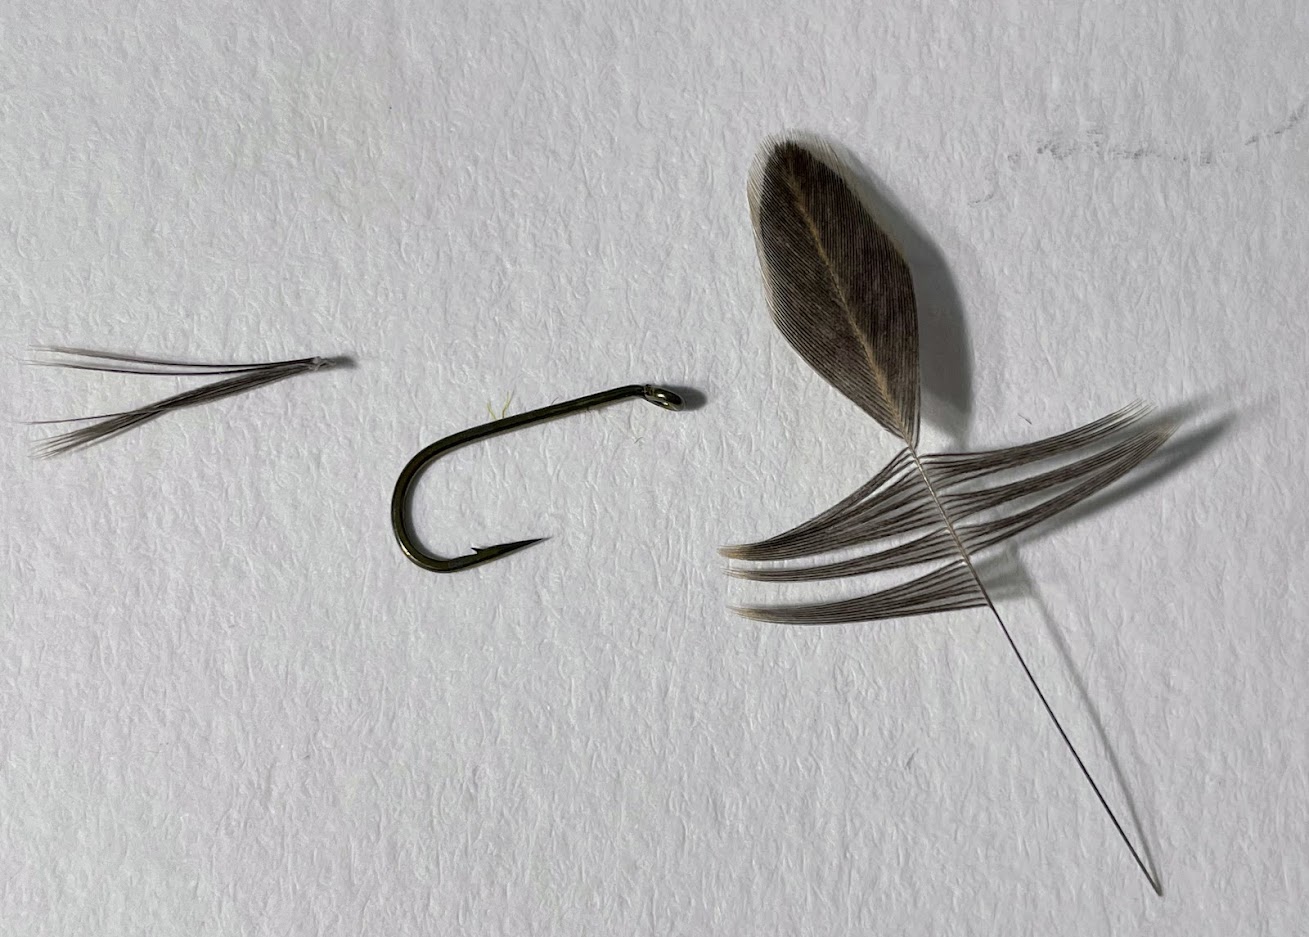
The yellow pad gave me a handy reference to let me know which side was forward. When clipping the hackle feather, I make sure the yellow pad is facing in the same direction as the good side of the feather. Once the feather is folded and wound forward, it is easy to know the good side is aligned facing forward. The hackle tip is bound down with a two wraps, and unclipped from the pliers. The tip is then pressed back and tyed down over the back of the fly. Figured I pass along this tip, since it helps solve one of the early problems I was having with the henwing style (twisted tip/upside down wings).
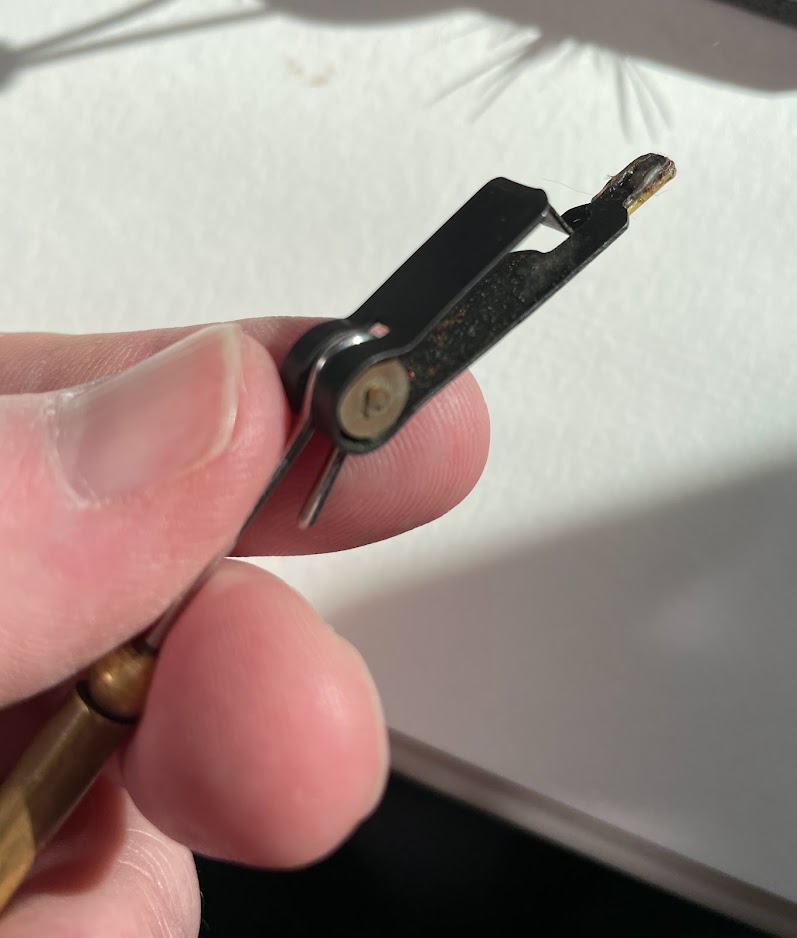
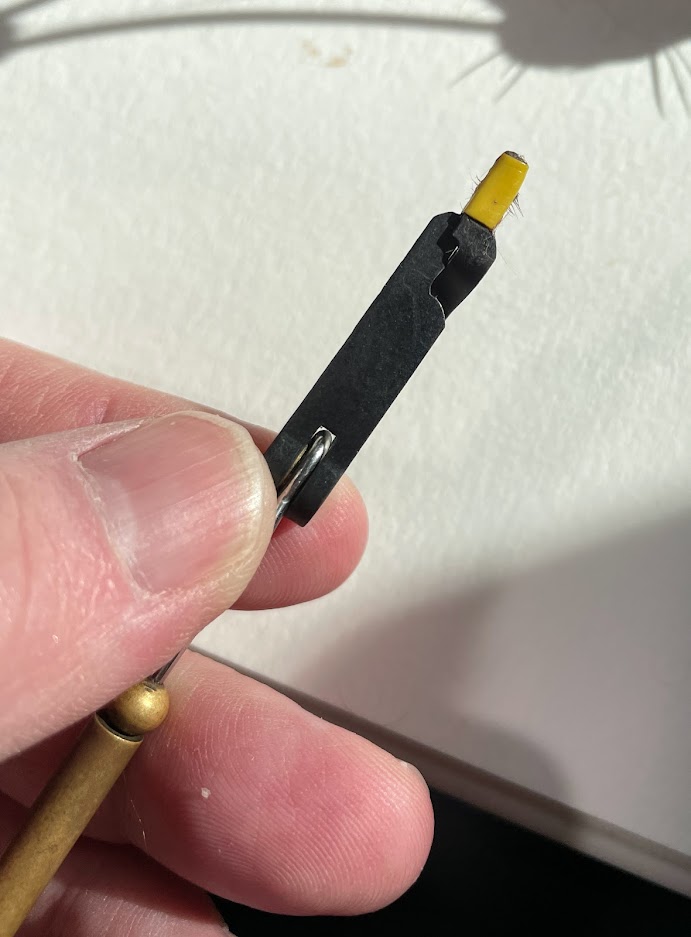
Pliers clipped to hackle tip (yellow pad up):

Base fibers folded back, in preparation for winding forward:

Hackle wound forward, forming the legs of the fly. Note that the yellow pad is facing forward, showing good side of the feather is forward too.

Pliers removed after tip is secured with a couple turns of thread.

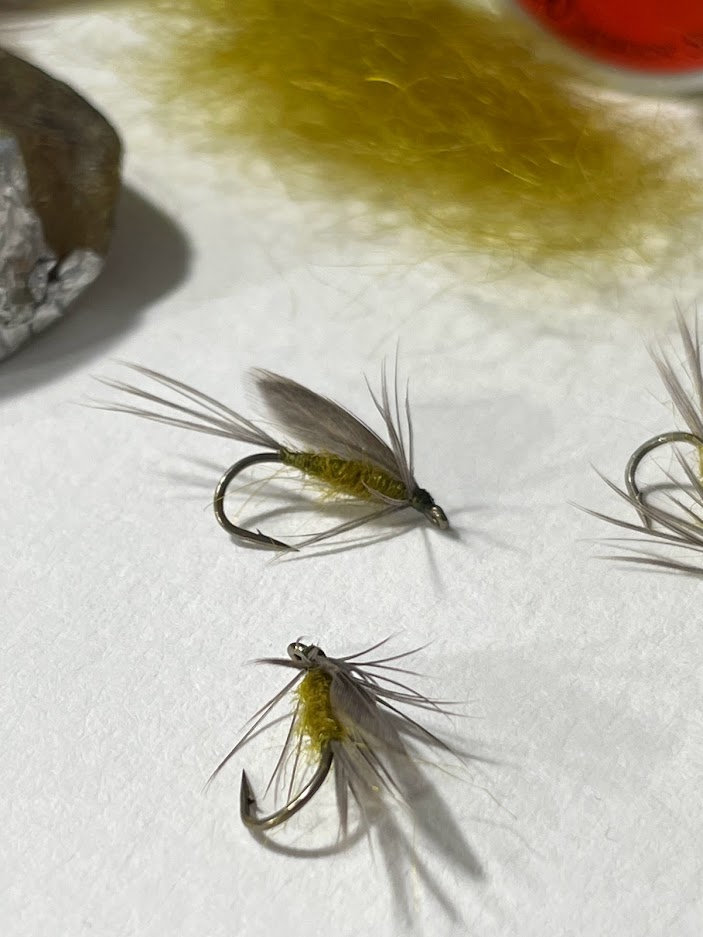
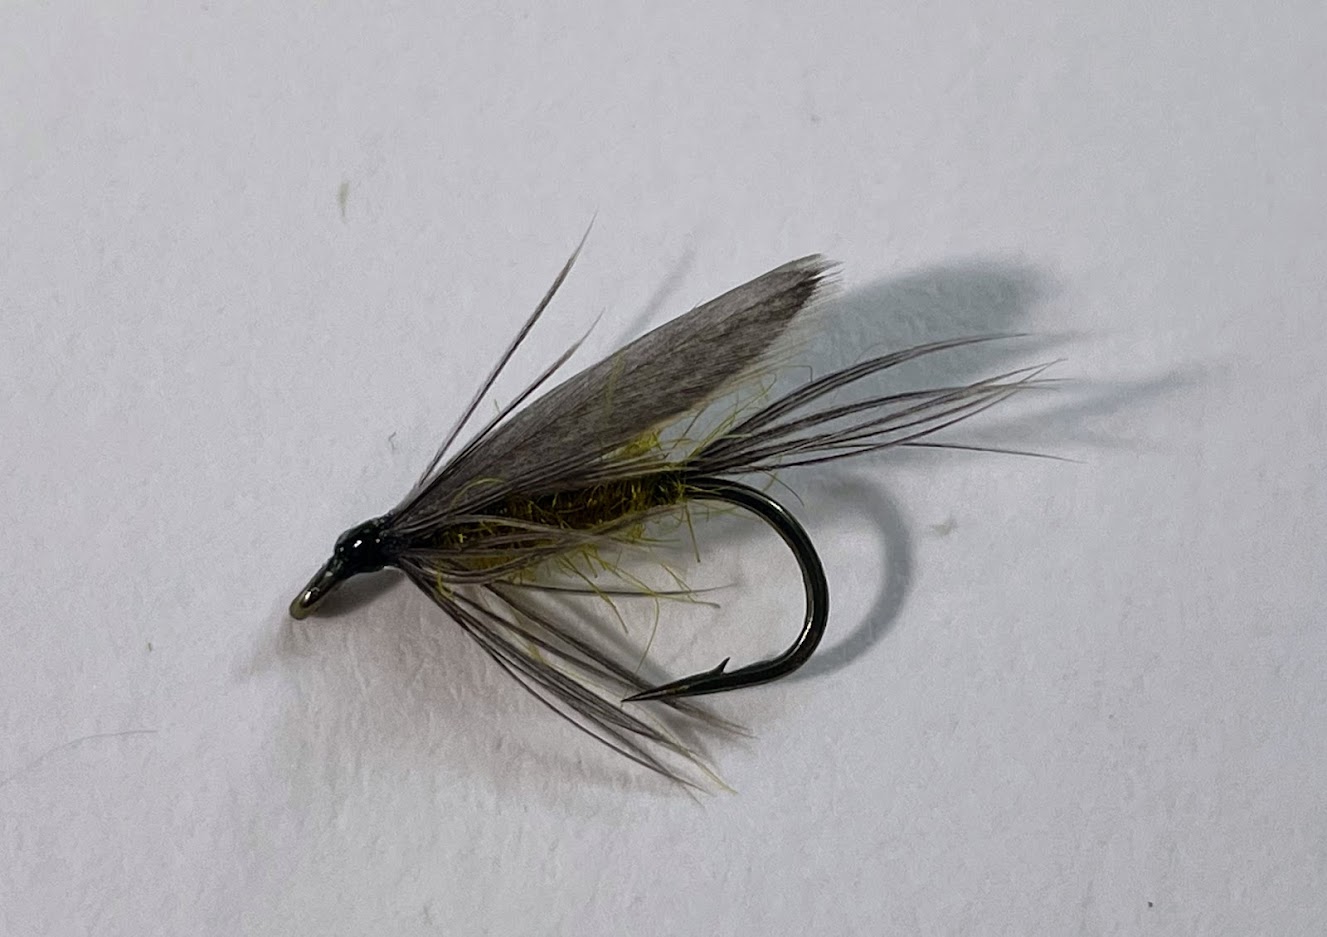
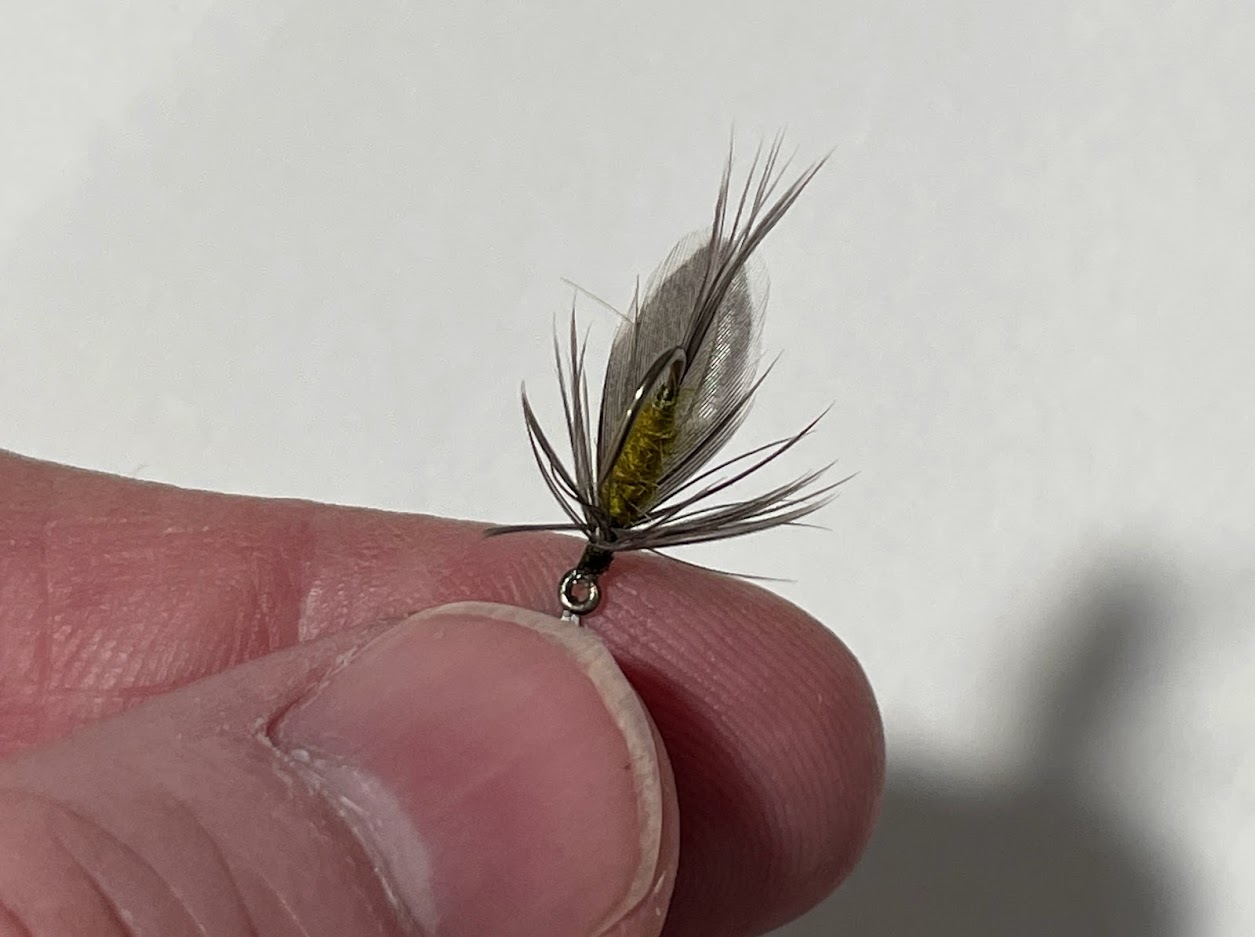
The wing (hackle tip) is then drawn back and tyed down. You can tweek the position with a press of your thumbnail at the base of the wing. Once your happy with the position, whip finish the fly forming a the head of the fly.

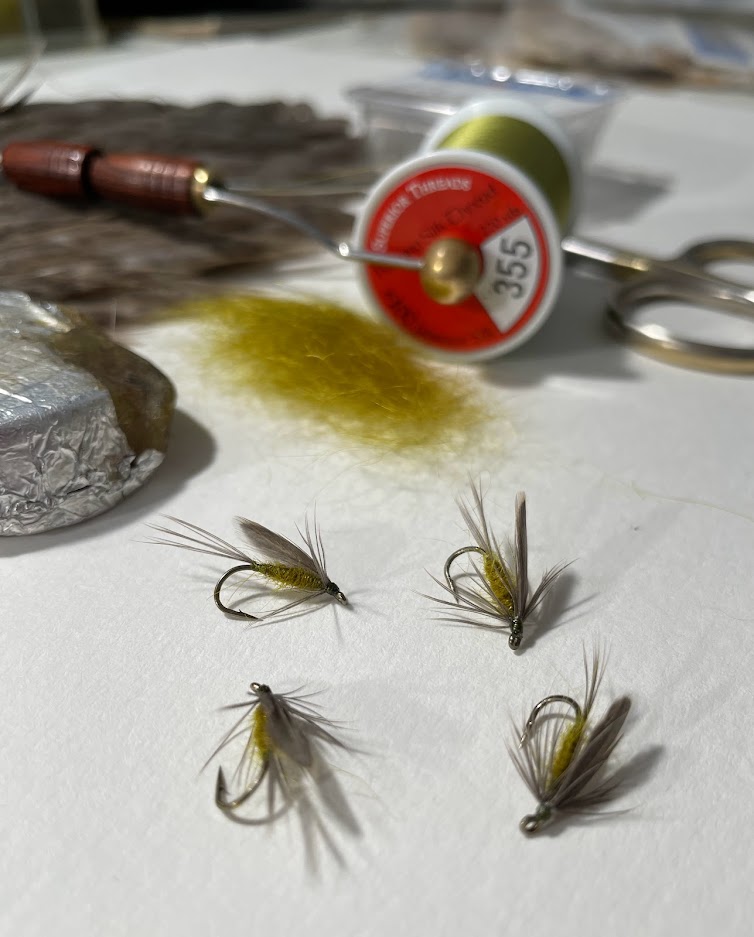
The photos are a bit blurry. Kinda tough to take pics with my phone in one hand, while tying with the other. Just wanted to show a little detail to make the tying easier for others.
Have fun!
PS - The simple soft hackle version looks fishable too...