I am truly humbled by the reactions to this fly by fellow tyers whose work I admire so much; thank you all. I'll attempt to create a rough step-by-step for this pattern, hoping that I'll be able to get the photos in the proper locations and that the non-shadowbox quality of the pictures doesn't detract too much from the impact of the effort ...
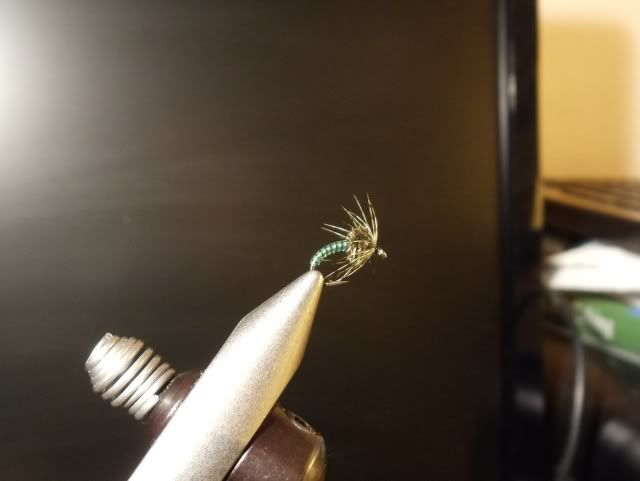
Sulky Green Caddis
Hook: Daiichi 1120, #14
Threads:
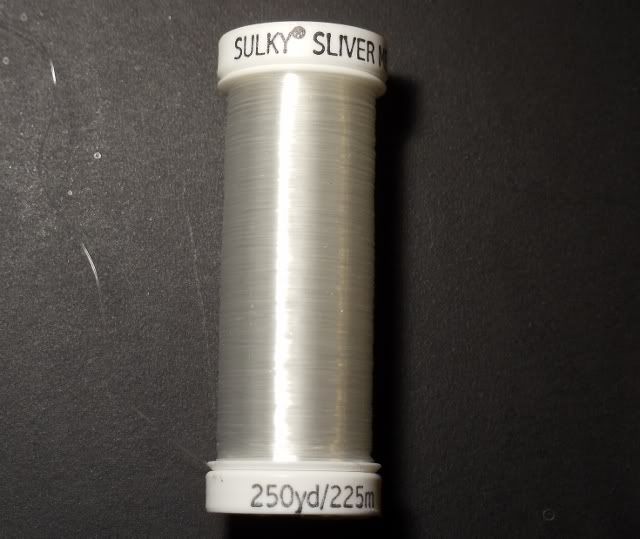
Underbody - Sulky Sliver Metallic Thread, #8001, silver;
Finishing - Sheer 14/0, black
Body: Chartreuse midge tubing with a strand of peacock colored Krystal Flash threaded inside
Hackle: Partridge dyed olive
Thorax: Peacock eyestick herl
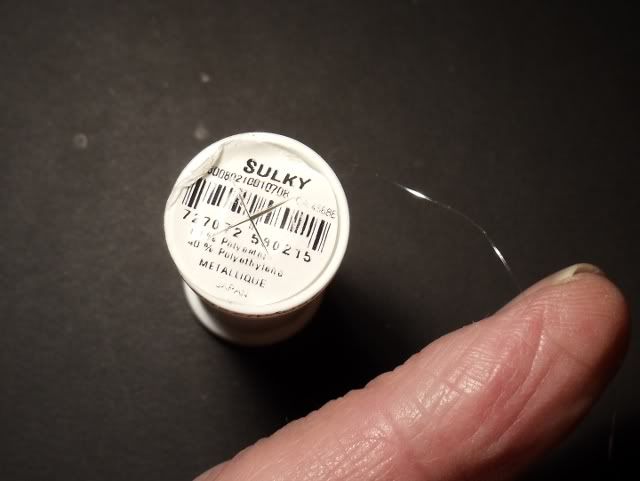
The two following photos are of the Sulky Sliver Metallic Thread used for the underbody of the fly. This material, which I found at a sewing and crafts chain store, is manufactured as embroidery machine thread, and is quite strong for its size. I transferred a quantity of it onto an old Pearsalls bobbin so I could use an existing holder.
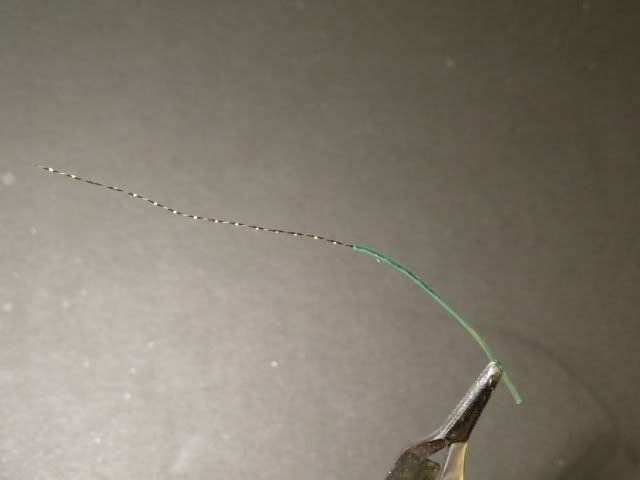
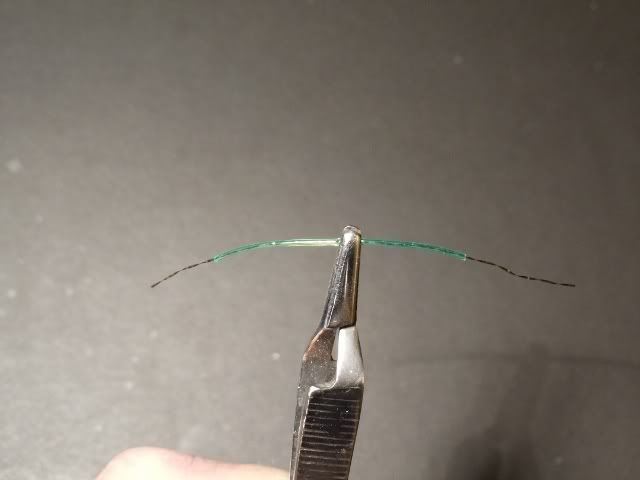
The next two photos show the strand of Krystal Flash being inserted into the hollow center of the midge tubing. The little clip is strictly for holding the materials for the camera and is not part of the threading process, which I do simply by holding the tubing in one hand and the Krystal Flash in the other hand. It happens that the hole in the center of the Hareline Dubbin brand of midge tubing is just large enough to accept the Krystal Flash, and once you get it started (like threading a needle), it pushes through easily. Please note that I cannot take credit for originating this technique, as I saw it in a magazine someplace two or three years ago, and an acquaintance of mine has used it with a lot of success on small nymph patterns.
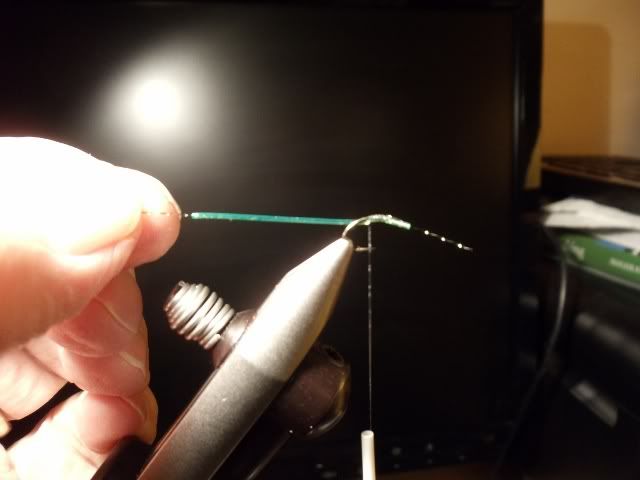
Start the Sulky thread on the hook in the thorax area; this material is quite slippery, so I wax the end a little to help hold it in place. Tie in one end of the midge tubing in the thorax area, with the Krystal Flash protruding beyond the end.
Holding the tubing in your left hand, pull it straight back beyond the hook and then wrap the Sulky thread back over it down about half way around the bend. After the first two or three wraps, pull firmly on the tubing so it stretches out, minimizing its diameter as you bind it to the hook. Then wrap the Sulky thread back up the hook to the thorax area.
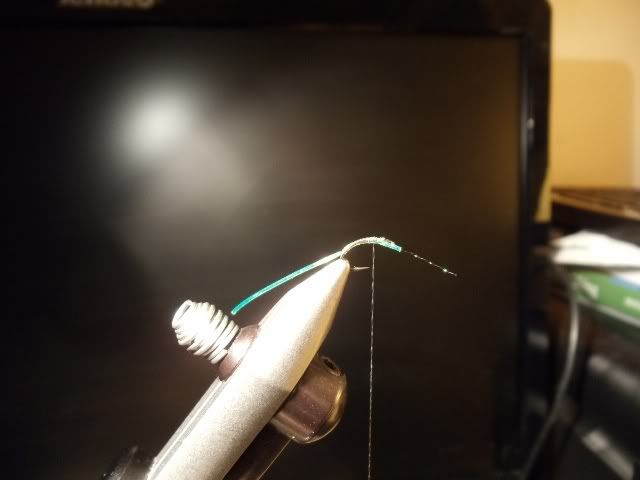
Start your finishing thread behind the hook eye and wind back, catching up and securely tying off both the Sulky thread and the protruding Krysrtal Flash, both of which can then be snipped off. I discovered the importance of binding down the Krystal Flash in this manner when I once inadvertantly pulled it out of the tubing while wrapping the body forward.

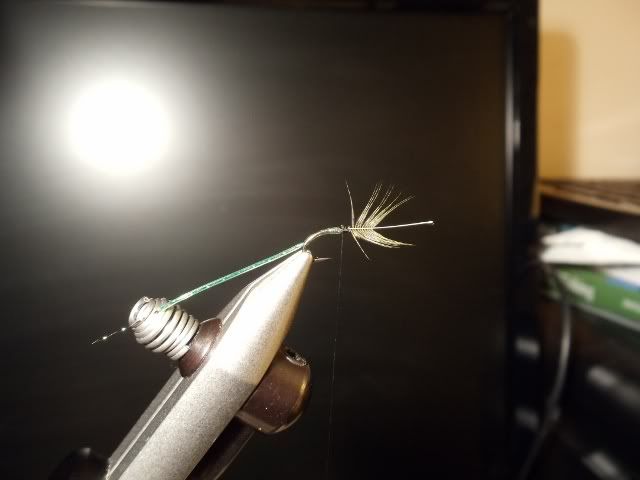
Tie in the hackle feather by the tip, concave side up with the stem protruding out over the hook eye.
At this point, I lost a photo somewhere, so I'll just have to tell you that the next step involves wrapping the body forward and tying it off. Stretch the tubing quite a bit for the first wrap or two, and then gradually use less tension as you proceed up the hook. This will make each wrap a little larger in diameter than the one before it, imparting a tapered look to the body.
After securely tying off the body tubing and clipping off the excess, tie in a couple of peacock herls and build the thorax before bringing the thread up to make a couple of wraps behind the eye in front of the hackle.
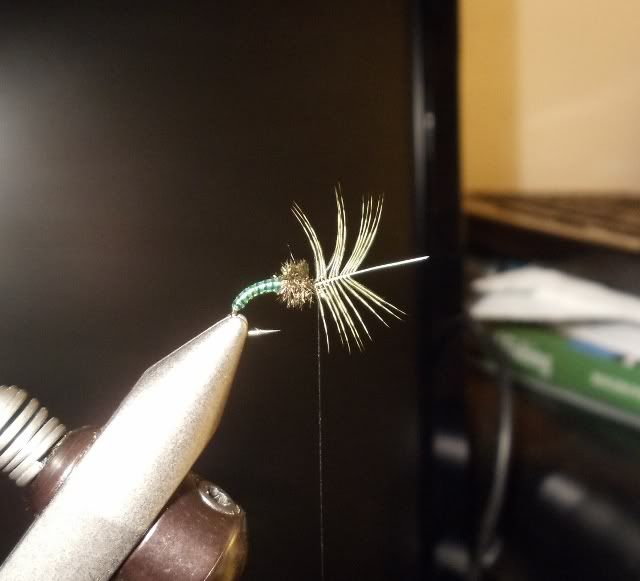
After trimming away the excess herl, wrap the hackle (one turn in this case), build a small head, and whip finish.
Some of the same morons who throw their trash around in National parks also vote. That alone would explain the state of American politics. ~ John Gierach, "Still Life with Brook Trout"


